Tutorial
Dedicated Hosting Upgrade
Select dedicated deployment, activate required billing, and track provisioning status.
1
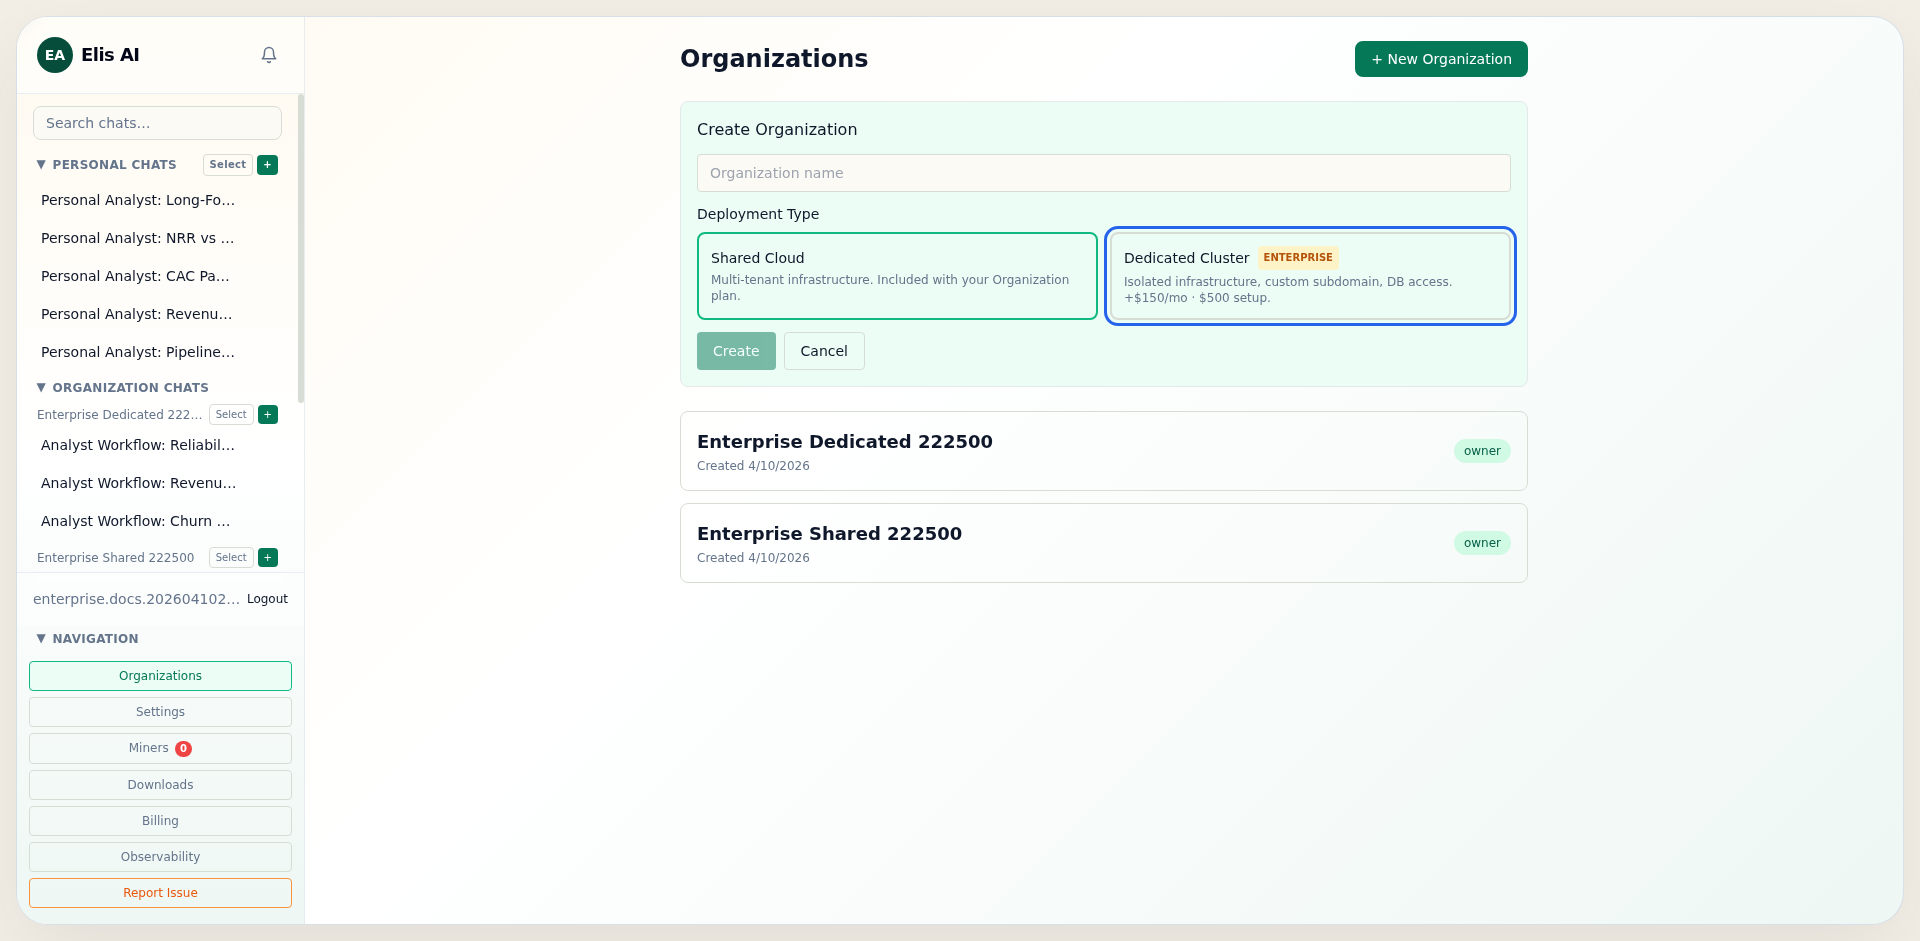
Choose deployment type at organization creation
During Create Organization, choose Dedicated in the deployment selector if you want isolated infrastructure from day one.
2
Activate organization subscription first
Open the organization Members tab and activate your organization subscription. Dedicated checkout requires an active organization plan.
3
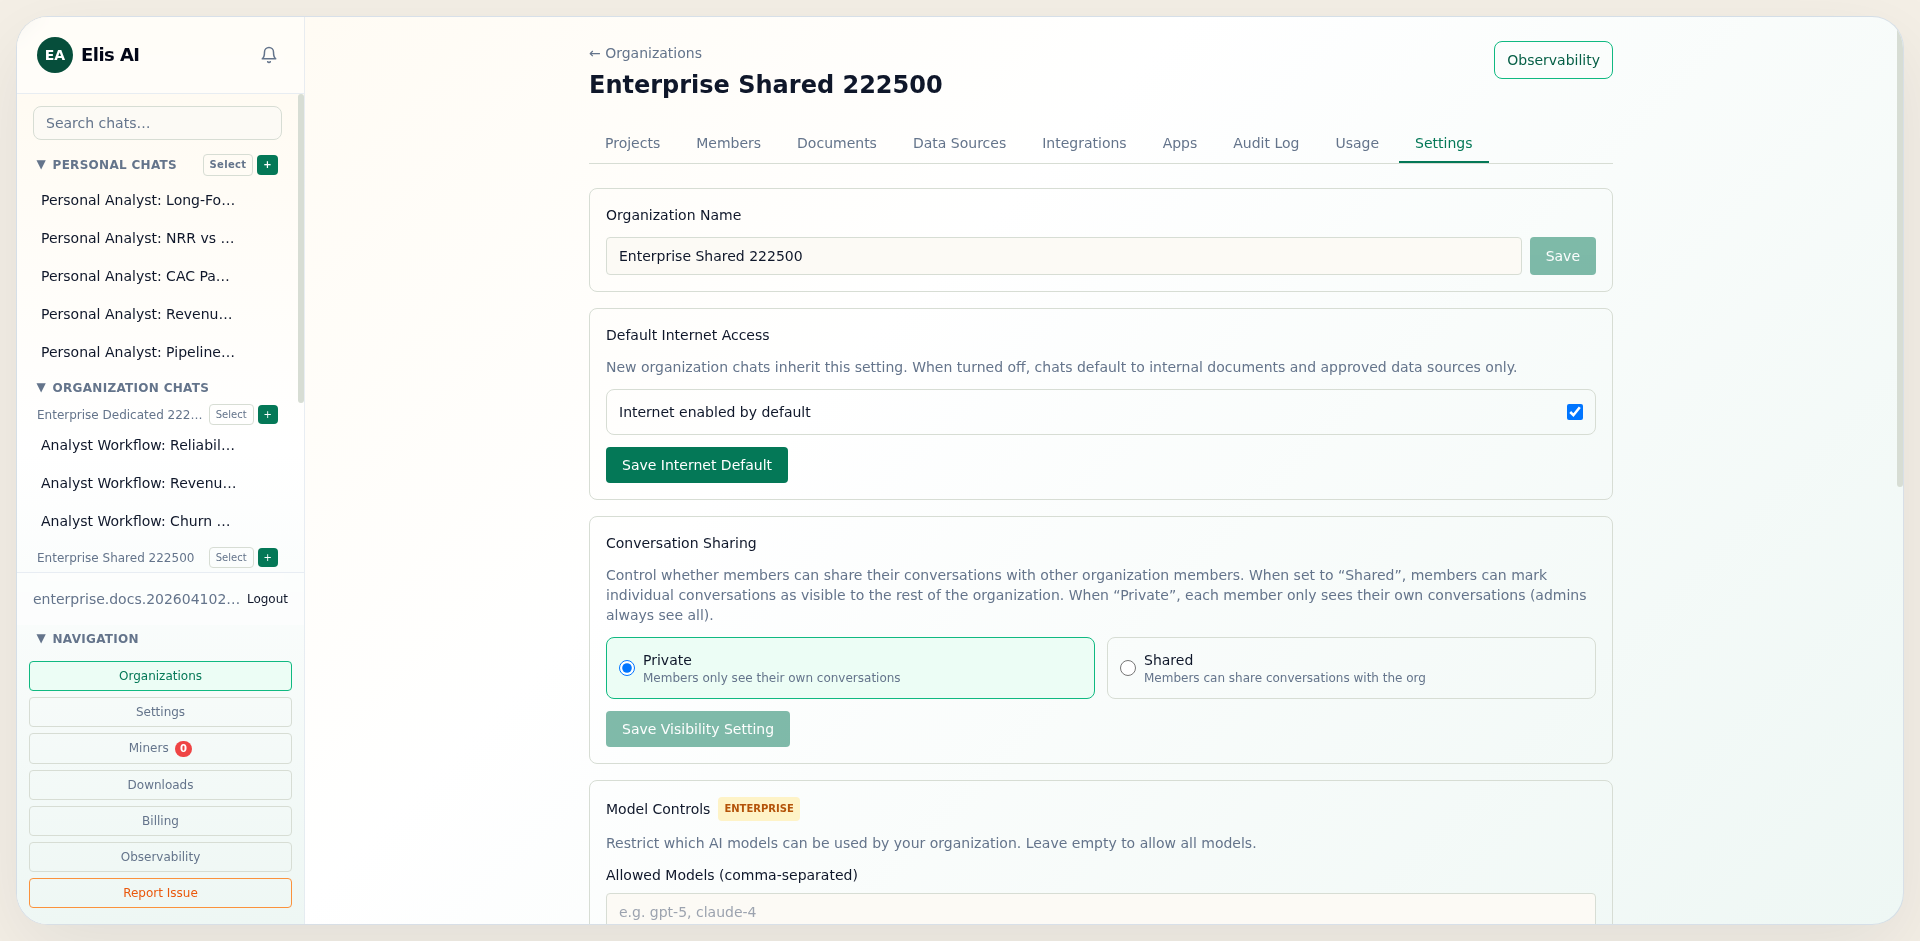
Start dedicated checkout from settings
In organization settings, click Start Dedicated Checkout. You will be redirected to Stripe and then sent back to the organization page once checkout is complete.

4
Watch provisioning and cluster status
After payment confirmation, the settings page shows dedicated cluster status. States normally progress from provisioning to active.
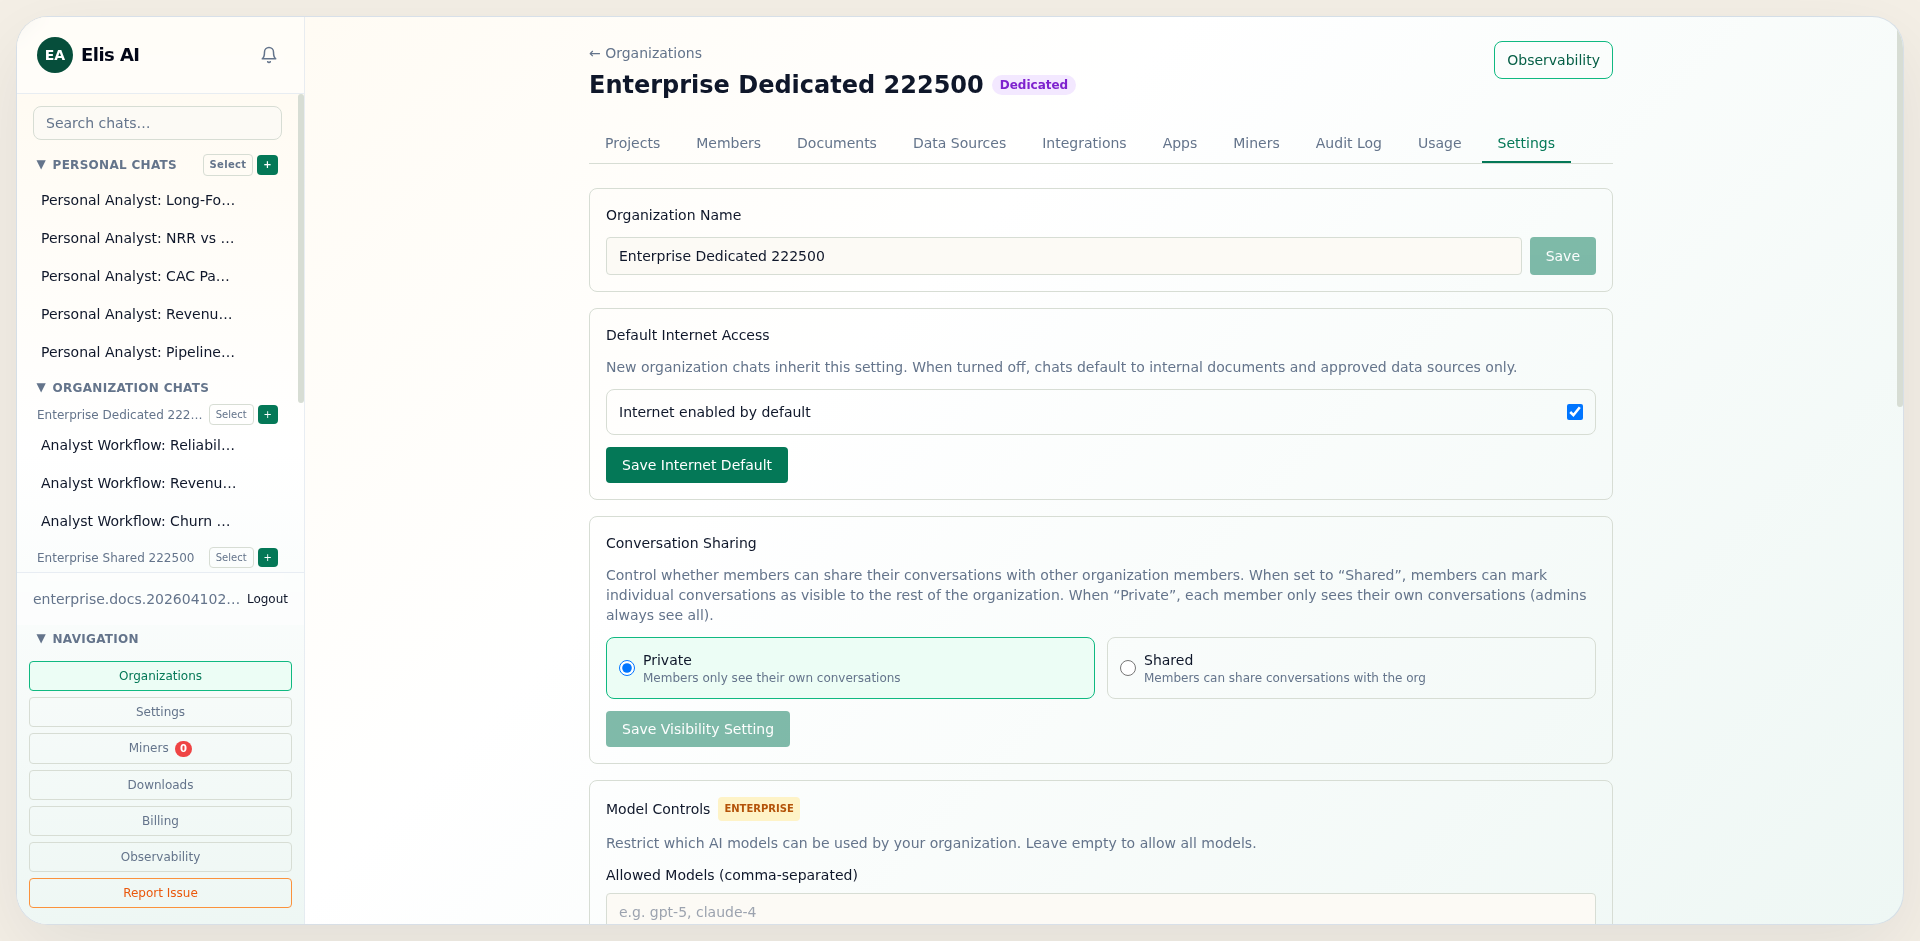
Tip:Dedicated provisioning is asynchronous. Keep the status card open during rollout and share the cluster state with your operations team before go-live.