Document Editor
Create markdown or plain-text writer documents (default cap 50 per account), use AI on a selection or rewrite the whole draft, link and merge other writer docs, review AI history, and keep a personal chat docked on the right.
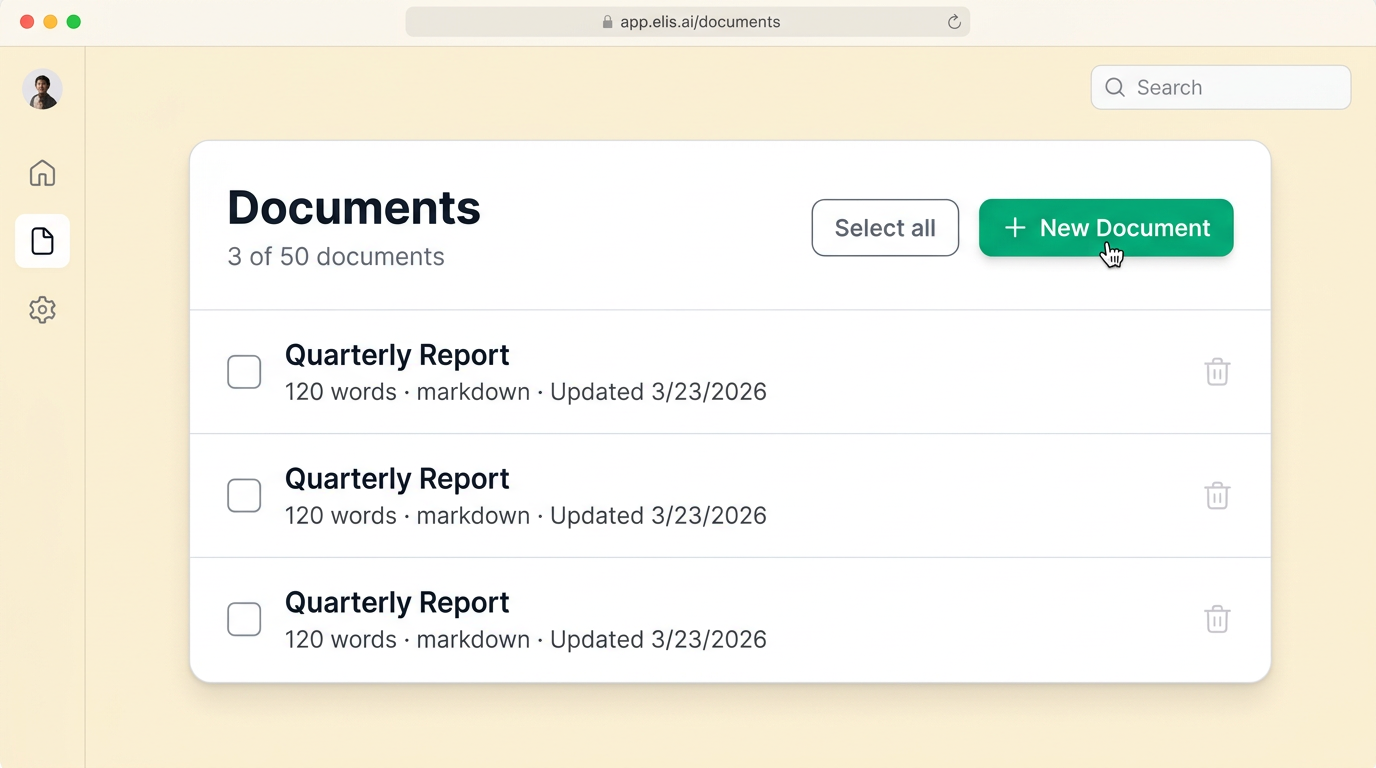
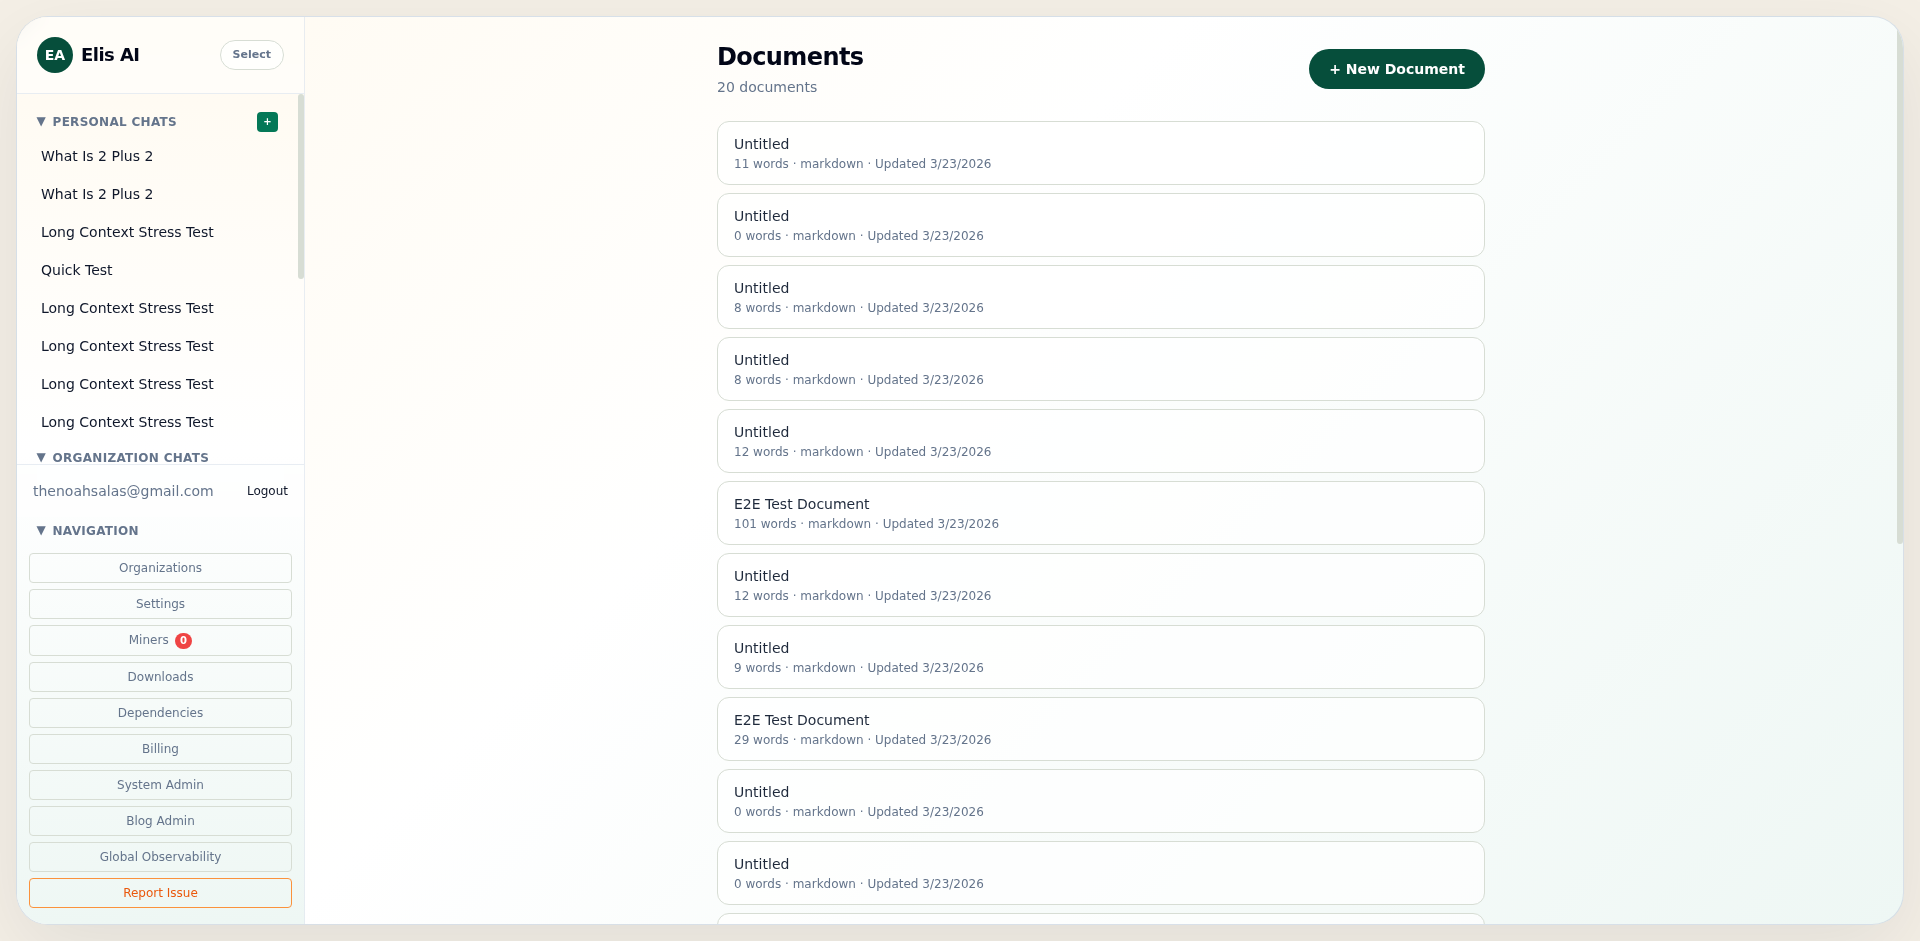
Documents list
In the sidebar, click Open Editor (or go to /editor). The subtitle shows N of M documents where M is your account cap (currently 50). If you are at the cap, you will also see (limit reached) next to the subtitle.
- + New Document creates a blank draft and opens the editor. The button is disabled at the limit; delete a document first to free a slot.
- If creation fails (for example a race at the limit), an amber Dismiss banner explains the error.
- When you have at least one document, Select all / Deselect all toggles every row checkbox on the loaded page.
- Each row has its own checkbox. Click the title (not the checkbox) to open that document in the editor.
- The trash icon appears when you hover the row; it deletes after a confirmation dialog (soft delete — it frees your document quota).
max_documents value in the future; the subtitle always reflects the live limit.Title, body, and auto-save
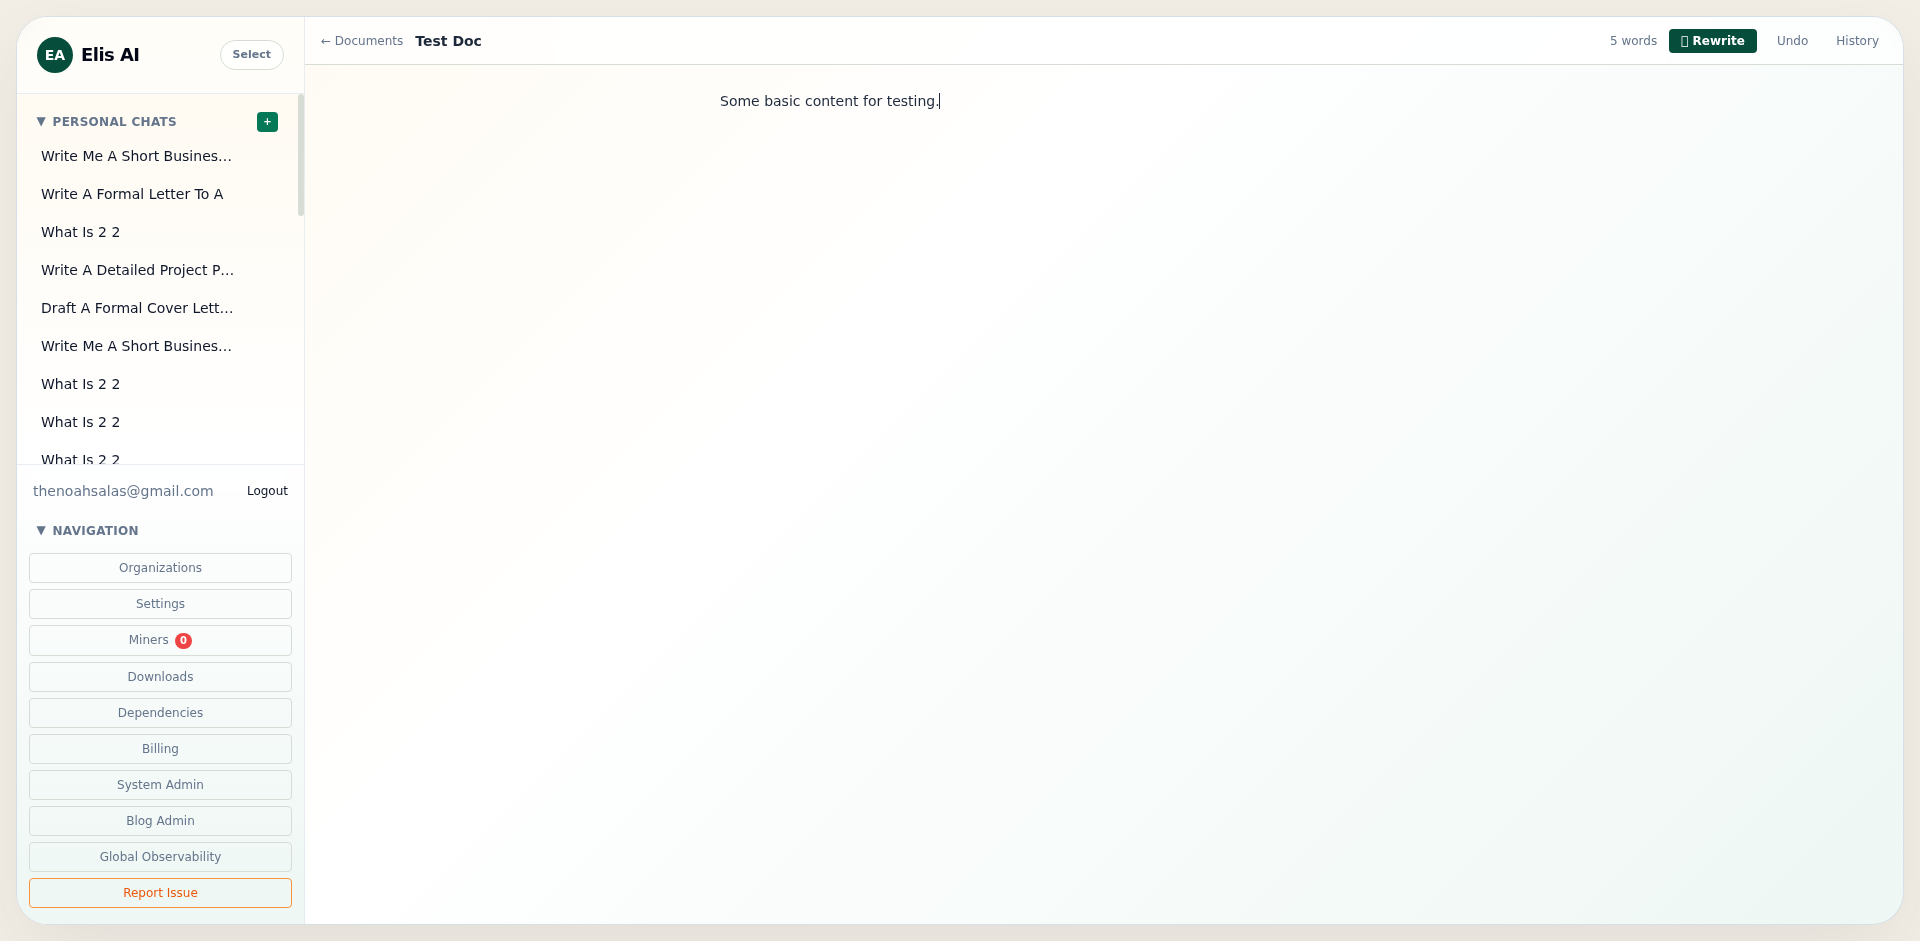
In the editor, edit the title inline next to ← Documents and type in the main textarea. Changes are saved automatically after a short debounce; while a save is running you may see Saving… beside the word count.
A red dismiss strip can appear under the header for errors (for example a failed merge or link removal); it does not block typing.
Use ← Documents to return to the list. If you just pasted a large block, wait a moment so auto-save can finish.
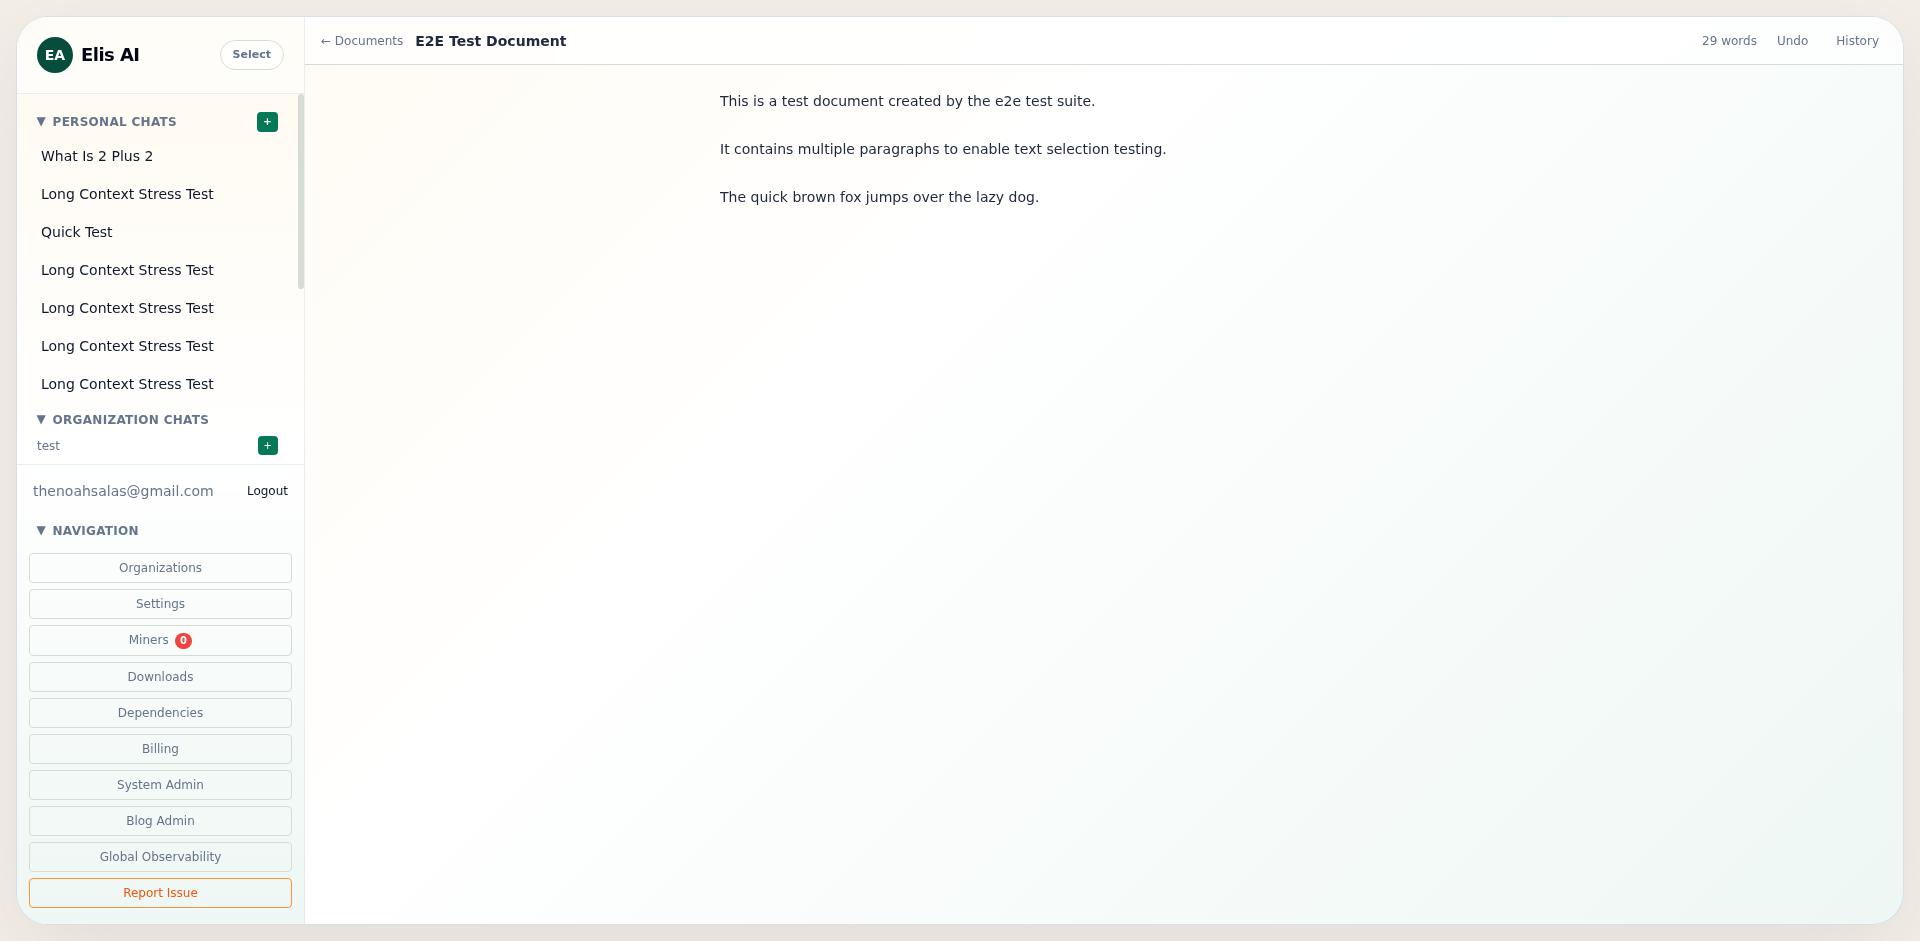
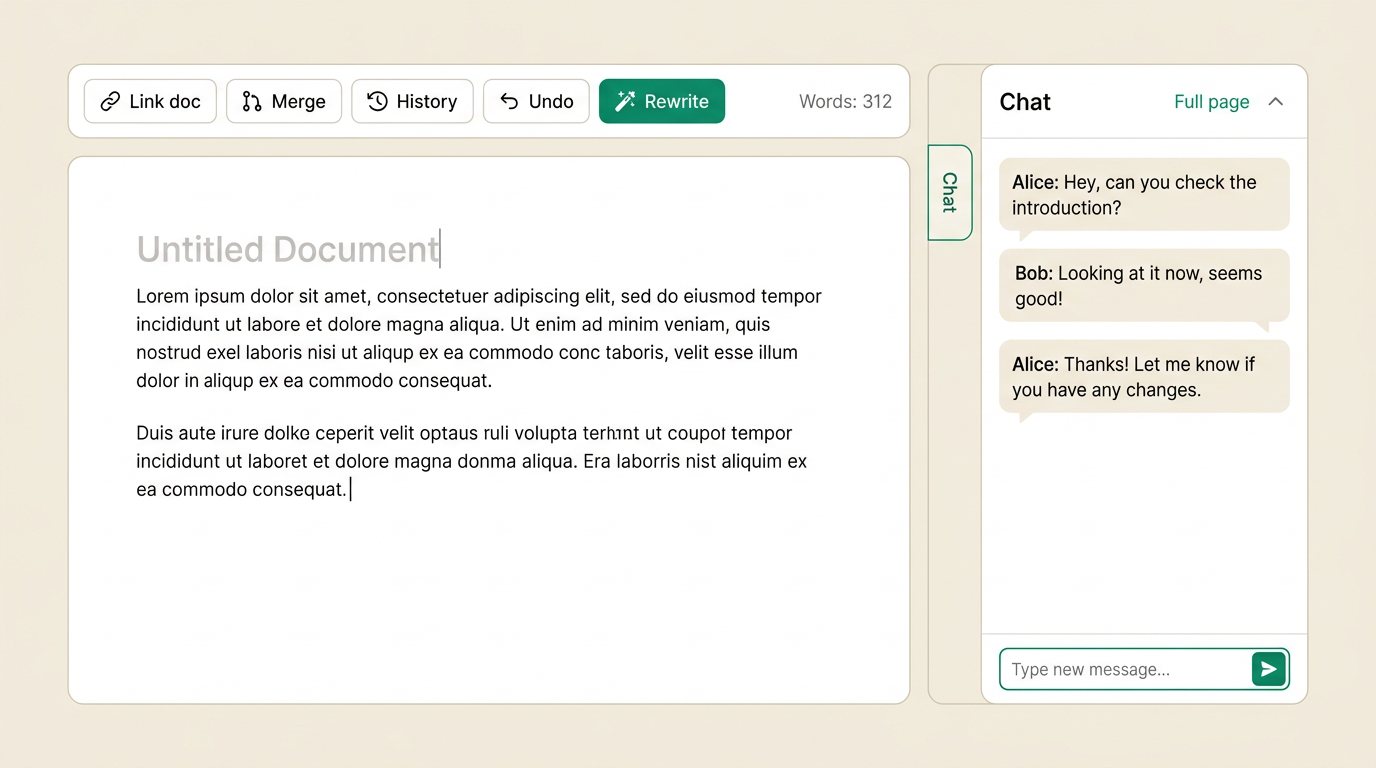
Top bar: Rewrite, Undo, History, Link doc, Merge
On the right side of the header: word count, then (left to right) ✨ Rewrite, Undo, History, Link doc, Merge….
- ✨ Rewrite: chunked full-document AI rewrite. The same AI Suggestion panel used for selection-based AI opens on the right (alongside the side chat). Apply replaces the entire document body. Disabled when the document is empty or while another AI request (including selection AI) is in progress.
- Undo: reverts only the last applied AI edit (not manual typing).
- History: right drawer of past AI suggestions (mode, prompt, status, timestamp).
- Link doc: opens Link document — pick another writer document you own. Already-linked targets are omitted from the picker.
- Merge…: opens Merge from document — append that document’s full text to the end of this one (default separator
---block); version increments.
When at least one link exists, a Linked: bar appears below the header with chips (title link + × to remove the link only — not delete the other doc).
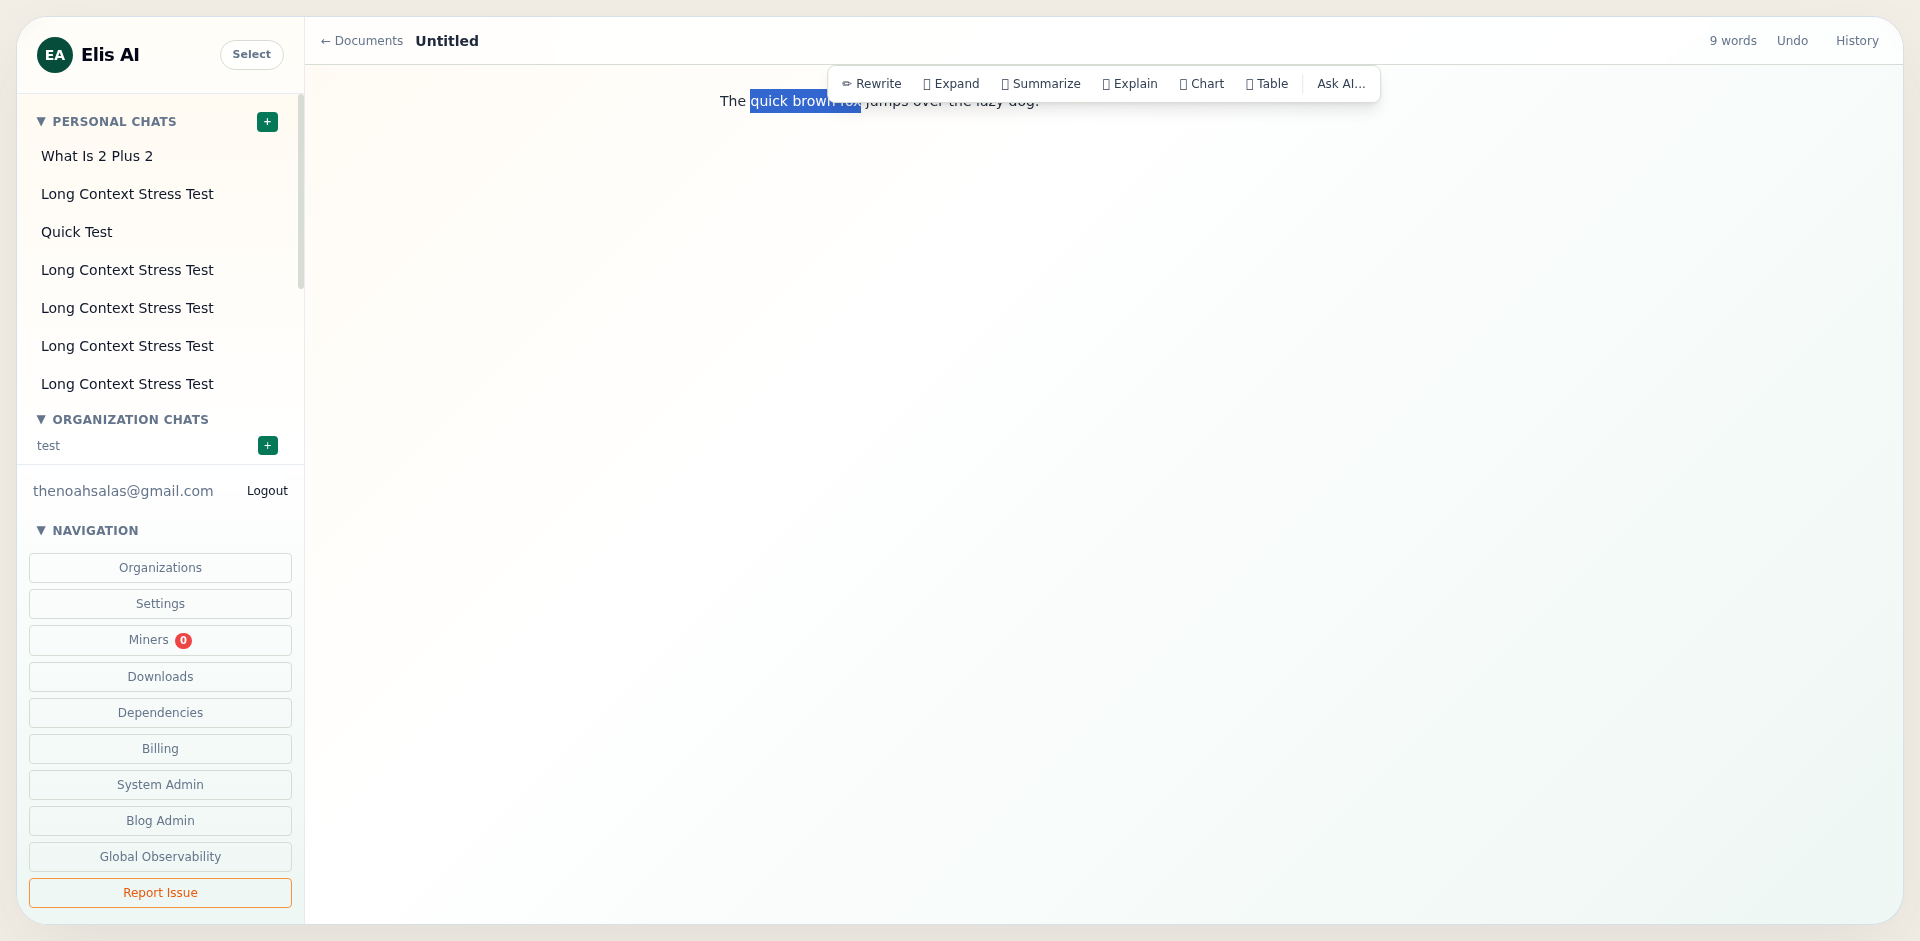
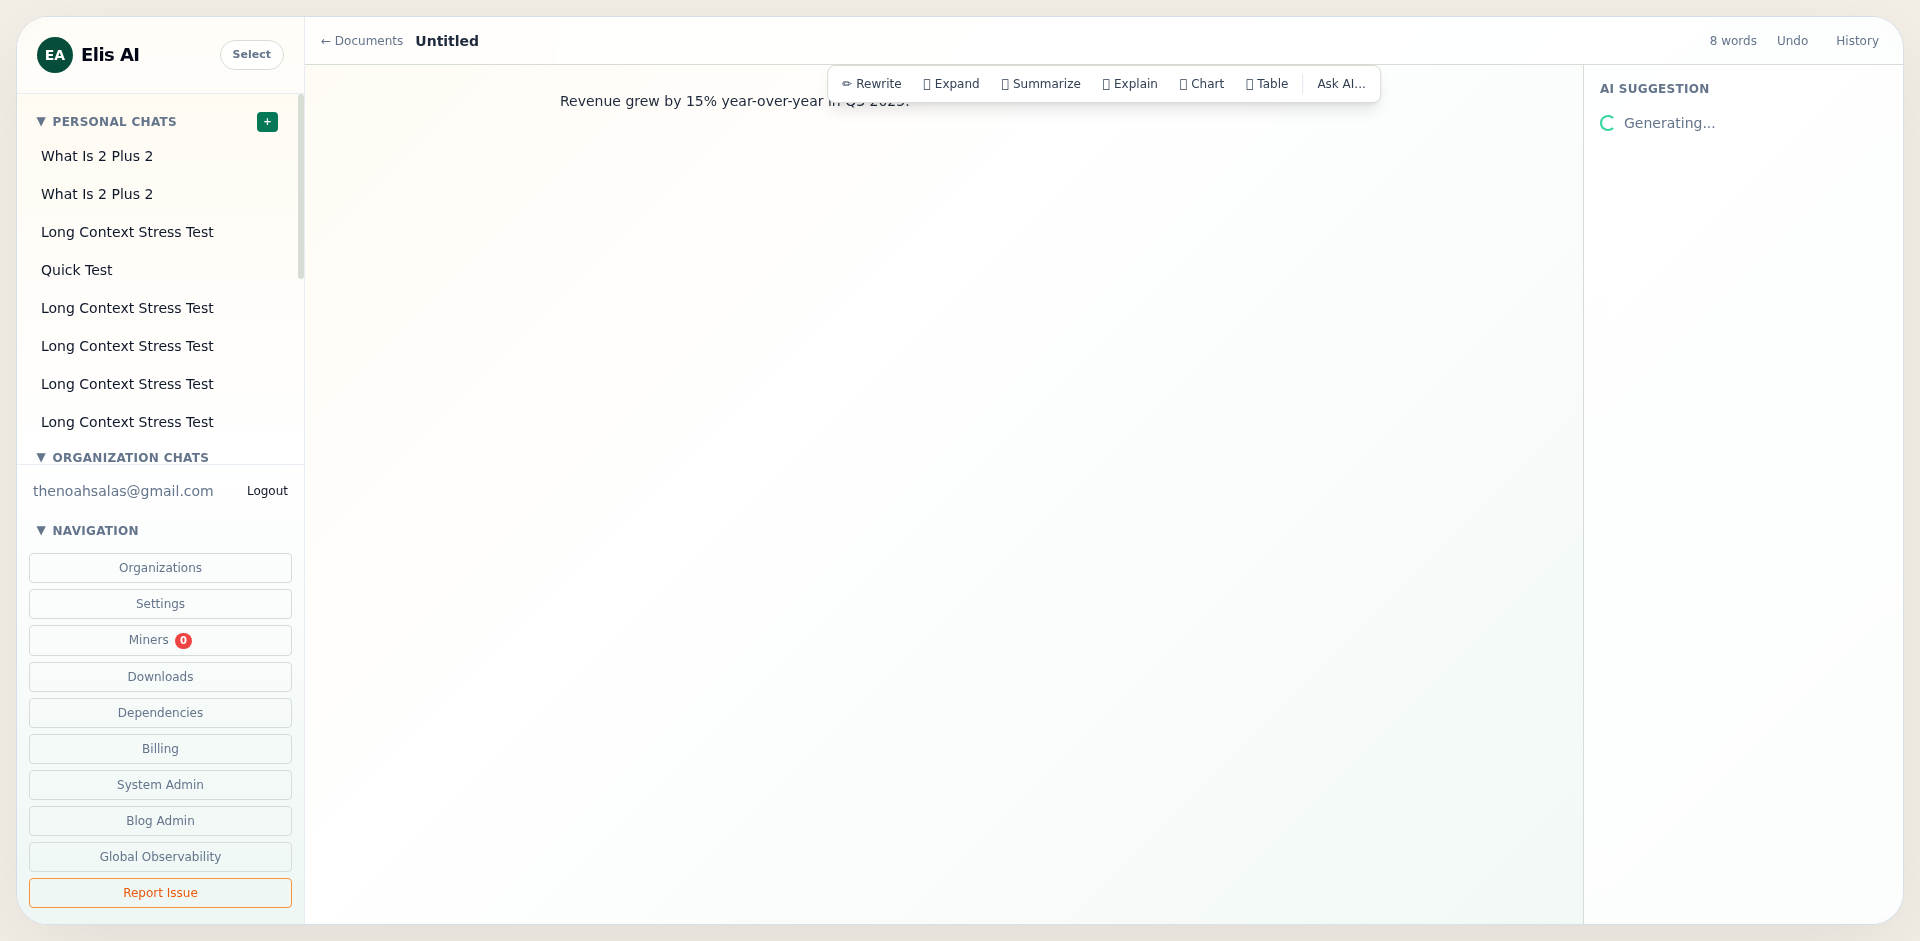
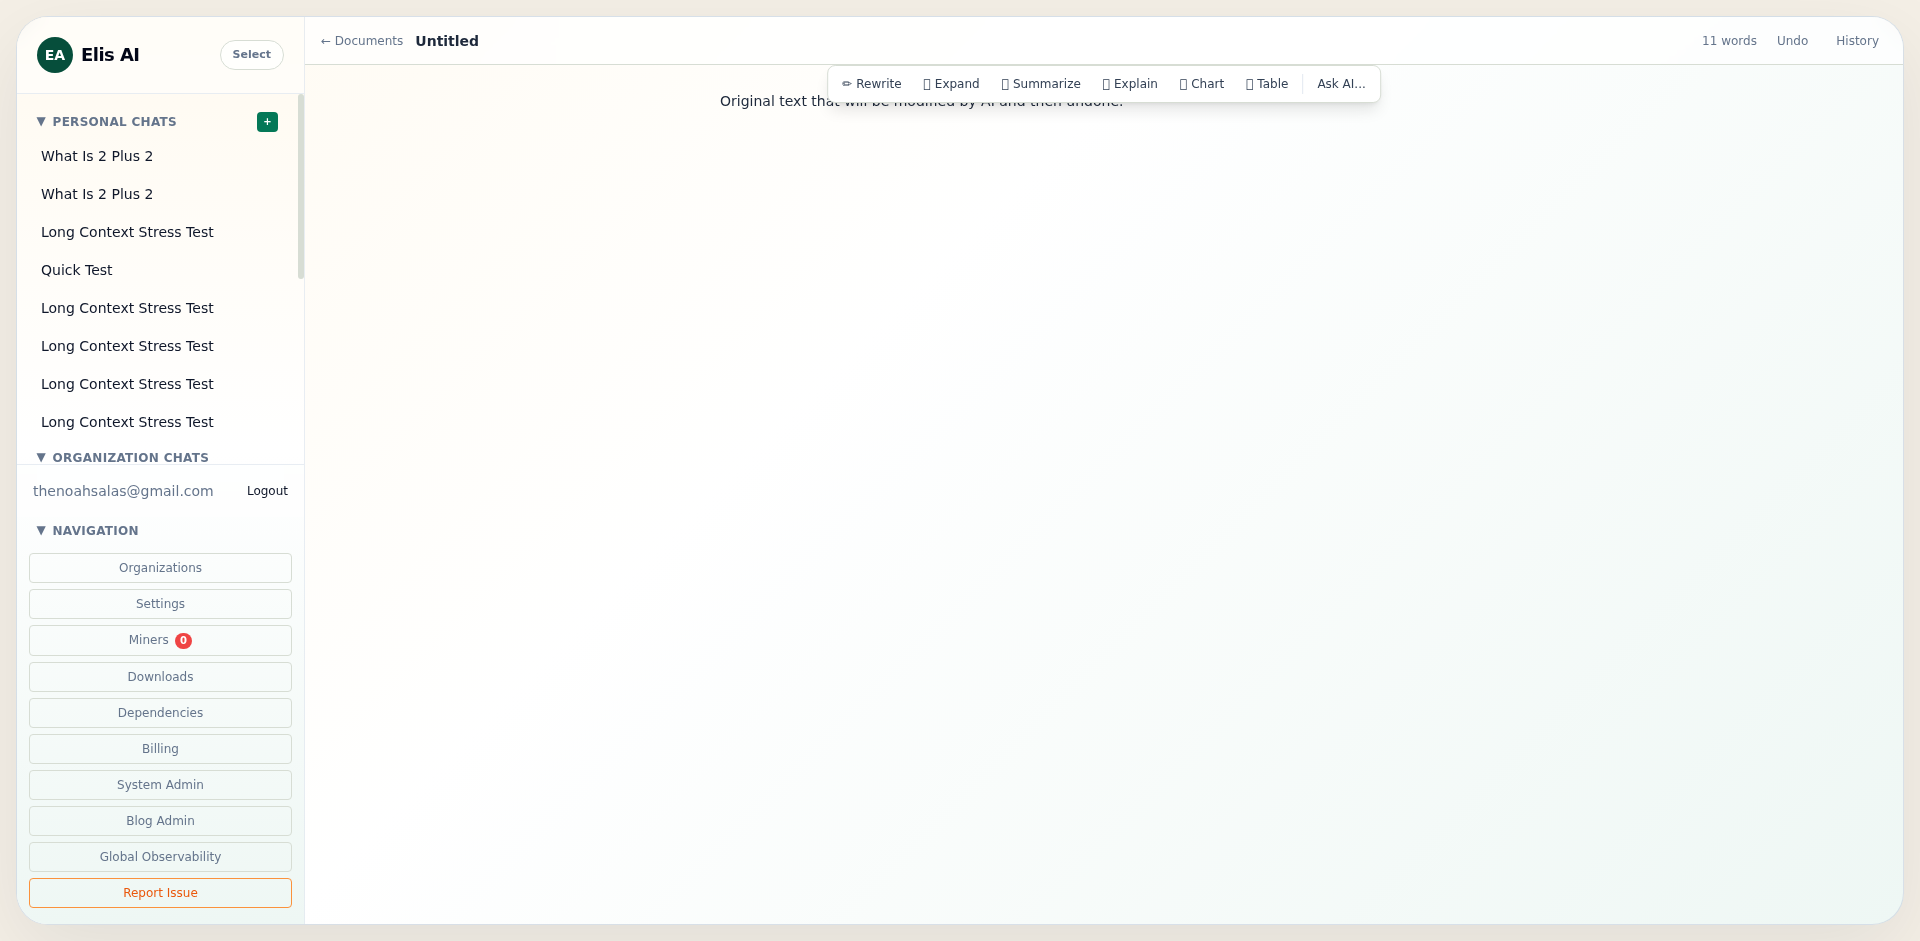
Floating toolbar on selected text
Highlight text in the body. A floating bar appears unless the AI Suggestion panel is already open (for example during ✨ Rewrite or after you requested selection AI) — finish or dismiss that flow first to use the selection toolbar again.
Quick actions (each sends a default instruction for that mode):
- Rewrite — improve clarity and flow; replaces the selection when applied.
- Expand — add detail after the selection.
- Summarize — shorter version of the selection.
- Explain — explanation only; the document text is not changed.
- Chart / Table — open the prompt box to describe what to generate.
- Ask AI… — opens a panel: choose a mode (replace, insert before/after, research, transform format, chart, table, etc.), type instructions, and optionally enable Web research & citations for grounded answers with sources.
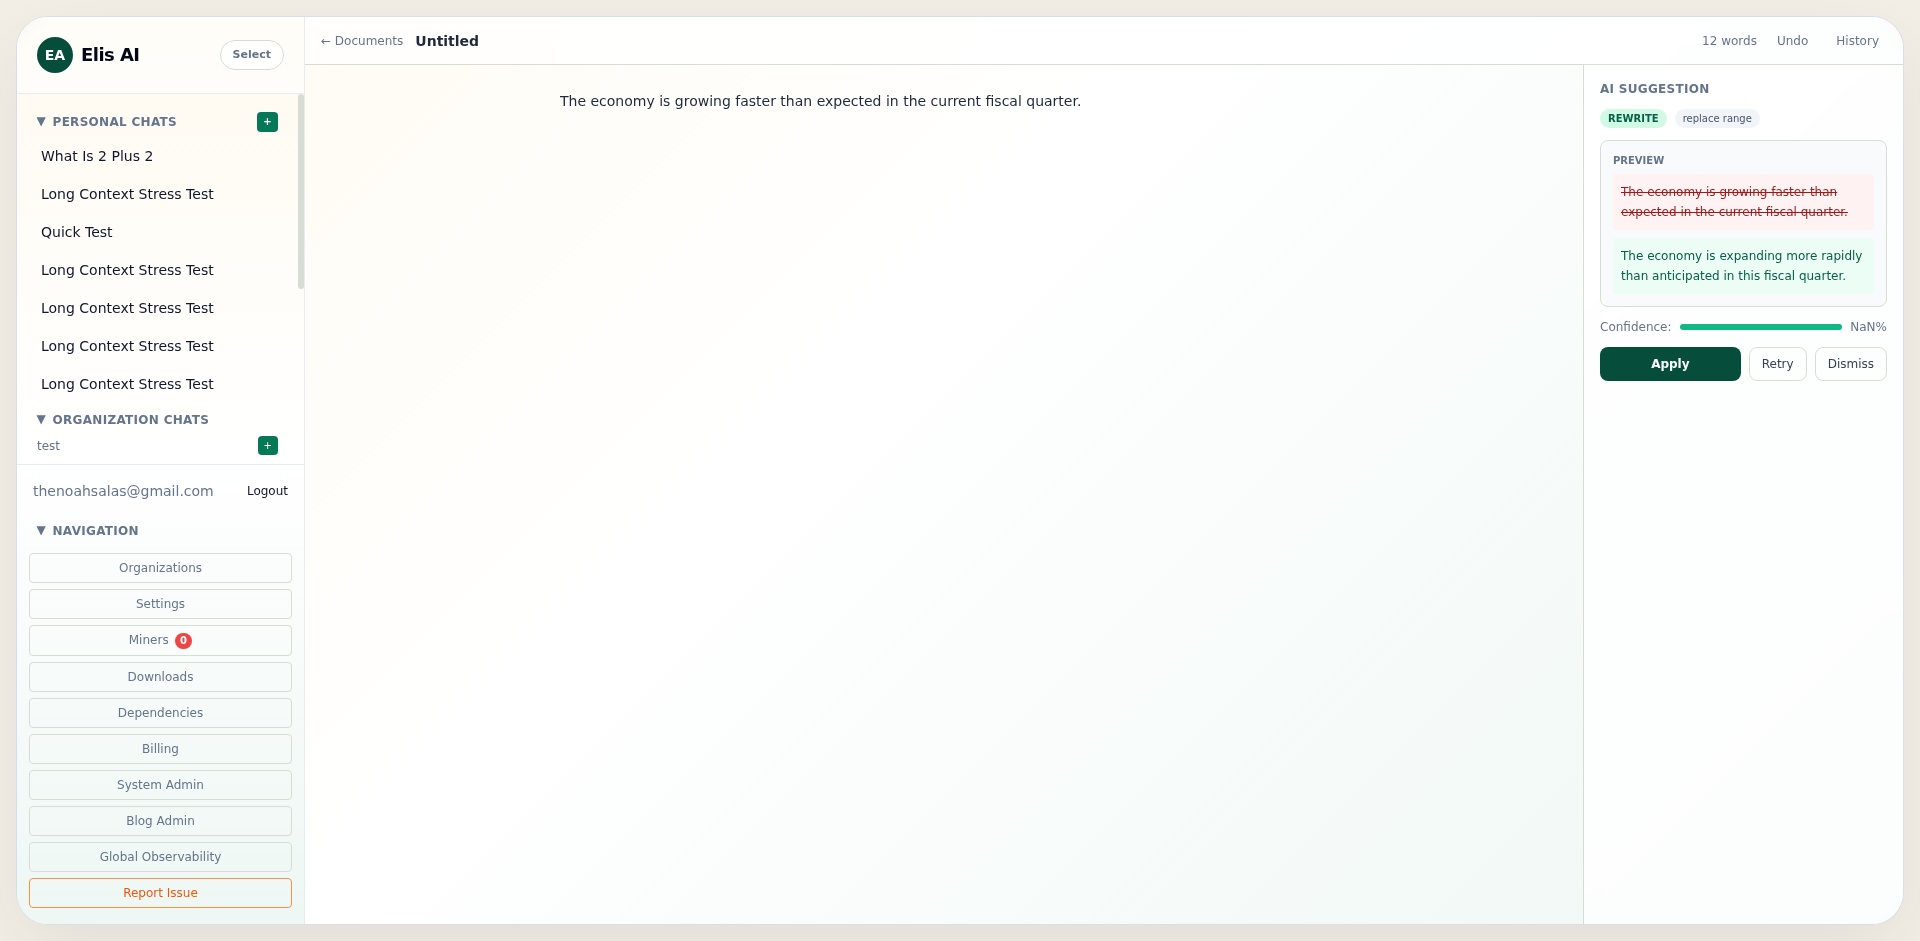
AI Suggestion panel (Apply / Retry / Dismiss)
The right AI Suggestion column appears for selection-based AI, full-document ✨ Rewrite, or while a generation is in progress (Generating…). It shows mode and action badges (for example replace range, insert after), an optional summary, a preview (strikethrough original vs new text when applicable), optional Research notes, optional Sources (clickable http(s) links), a Confidence bar (defaults to 75% if the API omits it), and an error message if generation failed.
- Apply writes the change (and records one undo step). Citations with web URLs may also append a Sources markdown block at the end of the document when the panel had structured citations.
- Retry runs again with the same selection and prompt (research mode keeps web research enabled on retry).
- Dismiss closes the panel without applying (same as rejecting the suggestion on the server).
- Explain uses Close instead of Apply — the draft is not modified.
Ask AI… modes and web research
From Ask AI…, the dropdown sets how the model should treat your selection: replace it, insert before or after it, run Research, change format, or emit chart/table output. Check Web research & citations when you want retrieval-style behavior even if the base mode is not "Research".
History drawer
History opens a side drawer listing AI runs for this document: mode, prompt snippet, status (accepted, rejected, error), and time. Use it to remember what you tried without scrolling the main page.

Undo after Apply
If an applied AI change is not what you wanted, click Undo in the header to restore the previous content snapshot for the last AI edit.
Deleting from the list
Back on Documents, hover a row and use the trash control to delete. You will be asked to confirm.
Side chat (collapse and full page)
After the document loads, a personal chat column appears on the far right (embedded ChatView — same capabilities as main chat: streaming, variants, trace when your role allows, org document linking when the conversation has a company, download / compact, internet toggle, speed modes, etc.). The editor does not show the “Open Editor” banner inside this chat (you are already in the editor).
- The first time you open chat for this document, a conversation is created and its id is stored in the browser; reopening the same document resumes the same thread.
- Collapse (header chevron): hides the wide chat and leaves a narrow strip with a vertical Chat label — click it to expand. Open/collapsed preference is saved per document in
localStorage. - Full page: opens this thread at
/chat/<id>.
Screenshots: Step 1 is updated to match the current documents list (select all, checkboxes, quota line). Steps 2–9 use captures from the browser test suite; if a label or layout differs slightly in the app, follow the live UI. Step 10 is an illustrative layout reference for the chat column.